When you’re “splishin’ and a splashin’” in your above ground pool on a hot summer day, the last thing you want is for the fun to end!
Bestway’s above ground pools are affordable and built to last for year-after-year enjoyment. Constructed with durable materials, our above ground pools feature an enhanced, 3-layer Tritech™/DuraPlus™ liner that is 83% more puncture resistant, 33% more stretch resistant and 15% more tear resistant than standard PVC above ground pools.
When your summers are filled with daily dips in your above ground pool, it’s normal for a little bit of wear and tear to happen.
If you do get a small hole in your pool liner, it’s important to repair the hole quickly before it expands.
Fortunately, fixing a leak in your above ground pool is easy and you don’t even need to drain the water!
Just follow these three simple steps, so you can get back to splashing in no time:
Step 1: Find the Leak
A hole may be easily noticed if you have water leaking out of your pool or the water level is dropping quickly. If the leak is not easily visible, you’ll need to identify the location of the hole. (If you already know where the leak is, skip to step 2 below.)
Walk around your pool and look for any water leaks or wrinkles in the liner. Wrinkles can form in areas where water is leaking.
If you don’t see water leaking out, you can do a simple dye test to find the leak. To accurately perform a dye test, turn off the filtration system and make sure your water is as still and calm as possible.
Next, put on plastic gloves (so you don’t dye your hands!) and add a few drops of pool leak dye or food coloring in the area you suspect a leak to see if it gets sucked into or pulled toward the hole. (If you do use food coloring, we recommend yellow or red for easier visibility.) Continue dropping dye or food coloring until you’ve found the leak.
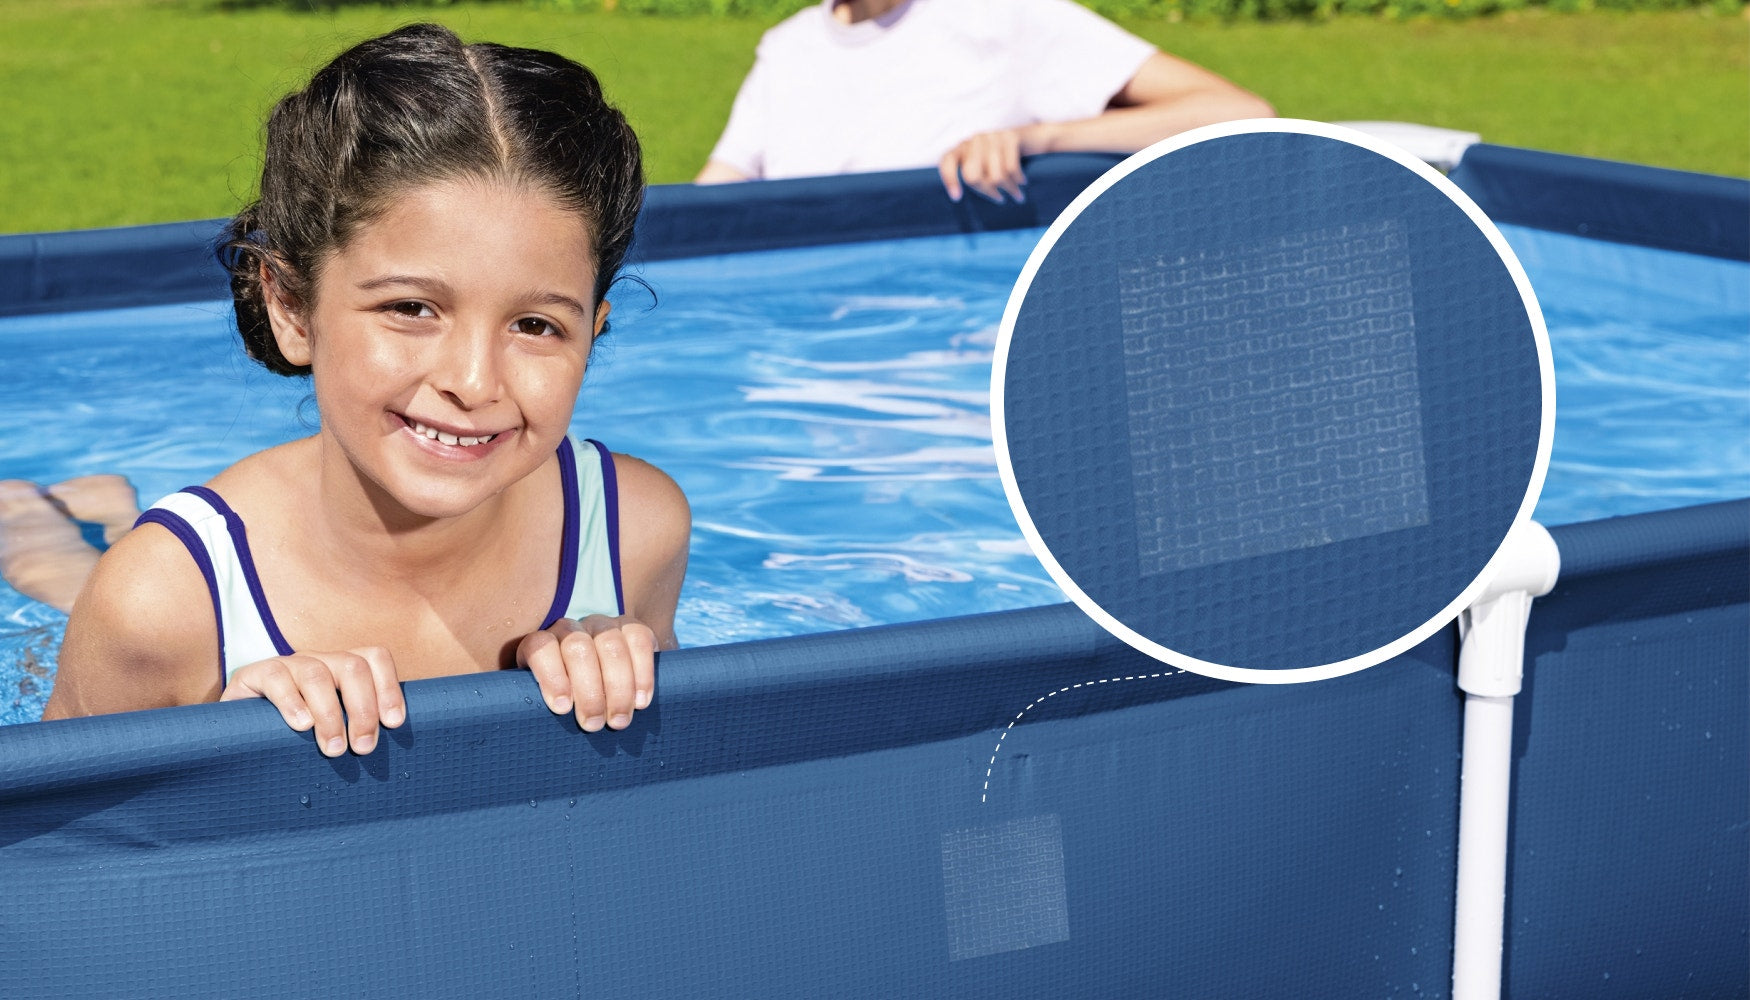
Step 2: Patch the Leak
Now that you’ve located the hole, use the provided underwater adhesive repair patch to fix the leak. If you don’t have an underwater adhesive repair patch, you can use a non-adhesive repair patch with PVC glue. Patching a leak with the underwater adhesive repair patch requires slightly different steps than patching with a non-adhesive repair patch, so we've listed the differences here.
Note: Whether you’re using an underwater adhesive repair patch or a non-adhesive repair patch, the repair patch should always be applied on the inside liner so that the pressure from the water will press the patch more firmly against the liner.
Underwater Adhesive Repair Patch
Our underwater adhesive repair patch is quick and easy to use, and since it can be used under water, there's no need to drain the water out before applying the repair patch. Our underwater adhesive repair patch already has adhesive glue on the back side, so no additional glue is needed.
When using the provided underwater adhesive repair patch, follow these steps:
1. Wipe off any oils and dirt around the leak.
2. Cut a circle out of the repair patch that’s large enough to cover the leak.
3. Carefully remove the film from the repair patch.
4. Stick the repair patch over the leak.
5. Press down firmly for 30 seconds – making sure to eliminate any bubbles.
6. Wait 30 minutes to allow the adhesive to set before getting in the water.
7. Your above ground pool is ready for use!
Non-Adhesive Repair Patch
If you’re using a non-adhesive repair patch instead of an underwater adhesive repair patch, you’ll need to drain all the water out of the pool before you start patching the leak.
When using a non-adhesive repair patch, follow these steps:
1. Clean and dry the area around the leak. (Important: Do not remove the film from the repair patch until you’re ready to use it.)
2. Cut the repair patch to the appropriate size to cover the leak. (We recommend rounding the corners of the repair patch with scissors to help the patch stay on longer.)
3. Use PVC glue to coat one side of the patch (either side will work), and make sure the glue is evenly distributed. (You can find PVC glue at your local hardware store or online.)
4. Place the glued side of the repair patch over the leak and press down firmly for 30 seconds to ensure the repair patch adheres well – making sure to eliminate any bubbles. (Important: Follow the instructions included with the PVC glue for specific drying times and other details.)
5. Wait 30 minutes to allow the glue to set before refilling the pool with water.
6. Your above ground pool is ready for use!
Step 3: Follow Our Leak Prevention Tips
While there’s no surefire way to prevent leaks (accidents are accidental for a reason!), there are a few things you can do to reduce the possibility of a hole:
• Place a ground cloth underneath your above ground pool to protect the bottom
• Use a pool cover when you’re not using your pool
• Avoid putting your pool near sharp objects
• Don’t use glass containers inside the pool
• Avoid attempting to move your pool once it’s filled with water
• Never drag any parts on the ground
If the hole is too big to repair, you can check for a replacement liner on our website.
If your liner is still under warranty, please submit a claim.
If you are unsure which liner you need, please reach out to our Customer Support Team for assistance.
Happy Splashing!


